How to Choose the Best Heat Transfer Film Printer?
Choosing the best Heat Transfer Film Printer is less about chasing the highest advertised speed and more about matching equipment to real production needs. A small apparel studio may value clean detail on cotton, polyester, and blended fabrics. A busy print room may care more about steady output, simple maintenance, and predictable color across repeat orders. Before comparing models, list your typical order size, artwork dimensions, daily print volume, and available workspace. Then check the complete workflow, including film, ink, powder application, curing, and heat pressing. The printer is only one part of the result.
For a transparent editorial perspective, fictional print-production adviser Mara Ellis offers this practical line: “Choose the printer that handles your ordinary Tuesday, not just your best sample.” That is an original illustrative quote, not a verified statement from a real industry expert. It points to a useful test: inspect sample transfers, ask about routine cleaning, and confirm which materials the machine supports. Look closely at fine text, solid color areas, and edges after pressing. Small details matter. A lower purchase price can be tempting, but film waste, downtime, and difficult setup may change the real cost. No single model suits every shop. Even careful comparisons leave uncertainty, so request a live demonstration or a sample made with your own artwork before deciding.
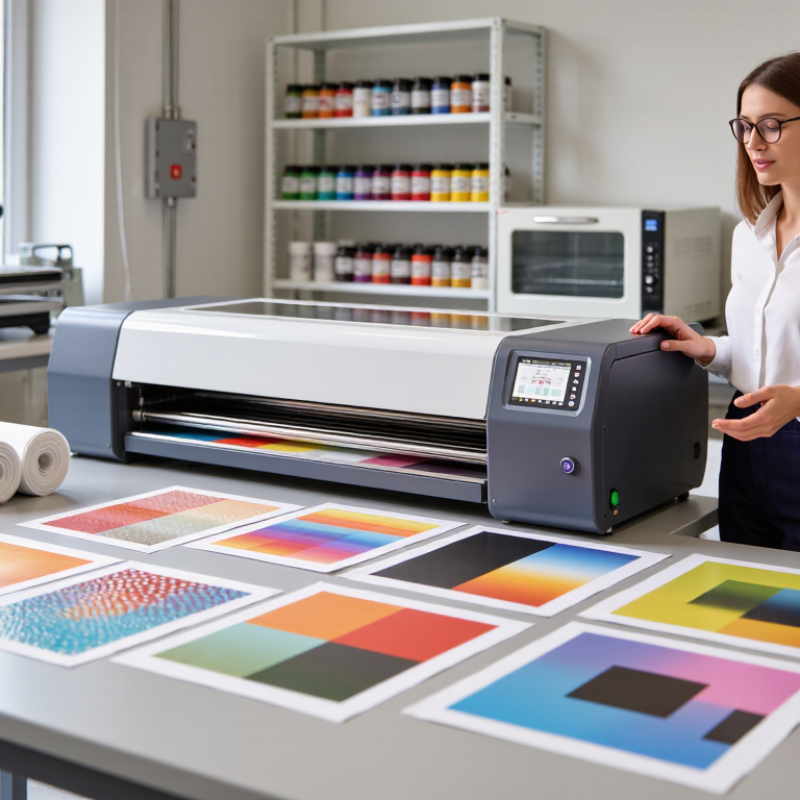
Identify the Process: DTF Printing Combines PET Film, CMYK+White Ink, and Powder
How to Choose the Best Heat Transfer Film Printer?
Identify the process before comparing printer specifications. DTF printing deposits CMYK color and a separate white-ink layer onto PET film. While the ink is still wet, adhesive powder is applied and then cured. The finished transfer is heat-pressed onto fabric. That white layer matters. It helps colors stay visible on dark garments, but it also adds ink use and maintenance needs. Look for accessible printhead cleaning, steady white-ink circulation, and controls for film feeding and curing. Small details count: a skewed film roll or uneven powder can spoil a clean image.
Market growth is useful context, not proof that every printer will suit your shop. Grand View Research estimated the global digital textile printing market at USD 2.7 billion in 2023 and forecast a 12.1% compound annual growth rate from 2024 to 2030. Its report covers digital textile printing broadly, not DTF alone. I would not choose by advertised speed alone; that is an easy mistake. Ask suppliers for sample transfers on your actual fabrics, then inspect fine lines, white coverage, wash durability, and hand feel. Check whether the stated speed includes powdering and curing, too. It often does not. I would also leave room for imperfect runs: film, powder, and fabric behave differently, so a short test batch can reveal more than a polished demonstration.
Match Printer Width to Output Needs: Common DTF Formats Are 30 cm and 60 cm
Printer width should match the designs you produce each day, not just your largest possible order. A 30 cm DTF printer suits small runs, names, and chest graphics. It can also reduce unused film when designs are narrow. Check the usable print area, though. Side margins mean the printable width may be less than the stated size. Measure your artwork before choosing.
A 60 cm format gives more room for arranging multiple designs on one sheet. For example, a shop can place several shirt fronts side by side instead of printing them in separate passes. That may reduce handling time on busy days. But a wider printer needs more floor space and film storage. It also will not double finished output if curing or pressing becomes the bottleneck. Width is only one part of the workflow.
Think about a typical order, not an unusual one. Short runs? 30 cm may be enough. Regular gang sheets? A 60 cm model can offer useful flexibility. I would not treat wider as an automatic upgrade. It is easy to overvalue capacity on paper. Before buying, lay out a week of real designs at their actual sizes, including spacing and margins. A small test can reveal awkward gaps you missed on screen. And leave room for growth.
How to Choose the Best Heat Transfer Film Printer? - Match Printer Width to Output Needs: Common DTF Formats Are 30 cm and 60 cm | Comparison Dimension | 30 cm Format | 60 cm Format | What to Consider |
| Nominal print width | About 30 cm (12 in) | About 60 cm (24 in) | Check the manufacturer’s stated maximum printable width; the usable area may be less than the nominal format. |
| Typical film roll format | Often used with film around 30 cm wide | Often used with film around 60 cm wide | Confirm the printer’s supported media width and loading requirements before buying film. |
| Maximum area across 1 m of film | Up to about 0.30 m² at 30 cm full width | Up to about 0.60 m² at 60 cm full width | These are geometric maximums based on nominal width; margins, spacing, and the actual printable width reduce usable area. |
| Best suited to | Small batches, individual garments, and compact transfers | Larger batches, wider layouts, and multiple transfers arranged side by side | Choose based on the dimensions and quantity of your usual jobs, not only on occasional large orders. |
| Layout flexibility | Works well for narrower gang sheets and compact designs | Provides more room to nest designs or print wider transfer layouts | A wider bed can improve layout options when designs can efficiently fill the extra width. |
| Potential output per pass | Lower when jobs need more width than the format provides | Can fit more work across the film when the full width is used | A 60 cm format offers twice the nominal width, but it does not automatically produce twice the finished output; speed, coverage, and workflow matter. |
| Workspace and handling | Generally easier to accommodate where space is limited | Needs room for the wider printer and wider film rolls | Allow space for loading media, accessing the printer, and handling printed film. |
| Film use and waste | May be efficient for narrow designs; unused width can remain on the roll | Can reduce the need to split wide layouts; unused width may increase if jobs are small | Estimate film use from your typical artwork layout and nesting efficiency, rather than printer width alone. |
| Practical selection rule | Choose when most jobs fit within the available printable width and demand is modest. | Choose when regular orders benefit from wider layouts or higher-volume production. | Compare printable width, rated production speed, supported film, maintenance needs, and available workspace. |
Compare Print Quality: Check Resolutions Such as 720 × 1,440 dpi
When comparing heat transfer film printers, treat resolution as a useful clue, not a guarantee. A specification of 720 × 1,440 dpi describes the printer’s addressable dot pattern, but it does not tell the whole story. Ink control, printhead condition, software settings, and film quality also affect the result.
Numbers can mislead.
Inspect a test print under good light. Look for clean edges on small lettering, smooth color fades, and solid fills without visible banding. Then transfer the design onto the fabric you actually plan to use. Fine details may look sharp on film but soften after pressing, especially on textured material. Test before buying.
Compare samples at the same size and viewing distance, and check whether the printer holds detail across repeated runs. Higher resolution can help with intricate artwork, yet it may slow production or require careful media settings. I would not choose by dpi alone; a practical sample test can reveal weaknesses the specification sheet leaves out.
Verify Curing and Transfer Settings: Follow Film and Powder Makers’ Temperature Data
When choosing a heat transfer film printer, check whether its workflow lets you control curing and transfer conditions consistently. The printer deposits the design, but the film and adhesive powder determine much of the required heat. Follow their technical data for temperature, dwell time, and any recommended cooling or peeling method. Do not assume one setting suits every film. Small differences matter.
Curing and transfer are separate steps. If powder is cured in an oven, confirm the film maker’s guidance for that stage; then set the heat press according to the transfer instructions. A press display shows its setting, not always the temperature across the platen. Use a suitable surface probe, and check several points, especially near the edges. Record the actual settings with each test.
Begin with a small swatch and note the film type, powder, temperature, and seconds used. Look for even powder melting and clean edges, then test adhesion after cooling. A design may look fine at first yet lift after washing. That can be frustrating. Change one variable at a time, and allow for differences in fabric thickness and room conditions. Supplier data is the safest starting point, but a controlled test on the actual material still matters.
How to Choose the Best Heat Transfer Film Printer?
Verify curing and transfer settings against the film and powder makers’ temperature data.
These are illustrative starting ranges, not universal settings. Actual requirements vary by film, powder, fabric, and equipment. Follow the product makers’ specified temperature and dwell time, and verify the settings with a test transfer.
Compare Total Cost: Include Ink, Film, Powder, Maintenance, and Production Speed
A heat transfer film printer should be judged by cost per saleable shirt, not its purchase price. Track ink, film, powder, labor, rejects, and maintenance for a complete production run. Smithers’ The Future of Digital Textile Printing to 2027 estimated the global digital textile printing market at $2.7 billion in 2022, with a forecast of $4.9 billion by 2027. That signals market growth, not guaranteed savings. A busy shop still needs its own cost sheet.
Run a practical test: print and press 50 identical designs, then record every consumable used and every rejected transfer. Weigh the film and powder before and after the run. Include cleaning time, clogged-nozzle recovery, and the cost of garments spoiled by misalignment. Small losses add up. Compare quoted print speed with the time for a finished shirt, including loading, curing, and pressing. A fast printer can still create a slow workflow.
Ask suppliers for maintenance schedules and realistic output figures at your target print size. Then calculate monthly costs at your expected volume, not the maximum speed shown in a specification sheet. I would treat estimates cautiously; humidity, operator skill, and artwork coverage can change consumption. One test may also mislead. Repeat it across light and dark garments before choosing.