How to Choose the Best Shop Lighting in 2026?
Choosing the best Shop Lighting in 2026 is not simply a matter of buying brighter fixtures. A well-planned system helps customers read labels, compare colors, and move comfortably through each aisle. It also supports staff during long shifts and can reduce wasted energy. Details matter.
Lighting designer Howard M. Brandston is often associated with the principle, “Light is the fourth dimension of architecture.” That idea applies to retail spaces, where light shapes how products and rooms appear. For a grocery shop, accurate color rendering can make produce look natural. In a clothing store, balanced illumination helps customers judge fabric shades beneath the fitting-room lights. Brightness alone is not enough.
This guide will explore color temperature, color-rendering quality, glare control, fixture placement, and lighting controls. It will also consider maintenance, energy use, and how different zones need different treatment. A narrow aisle may need focused, even light; a display table may benefit from softer accents. Test it. A tidy plan can still miss how a polished floor reflects a fixture, or how a bright window changes the feel of a display by afternoon. Those details deserve a real-world check, not just a spreadsheet. The best Shop Lighting choice depends on the store’s layout, products, operating hours, and budget. There is rarely one perfect setup.
What Shop Lighting Is and Which Needs It Must Meet
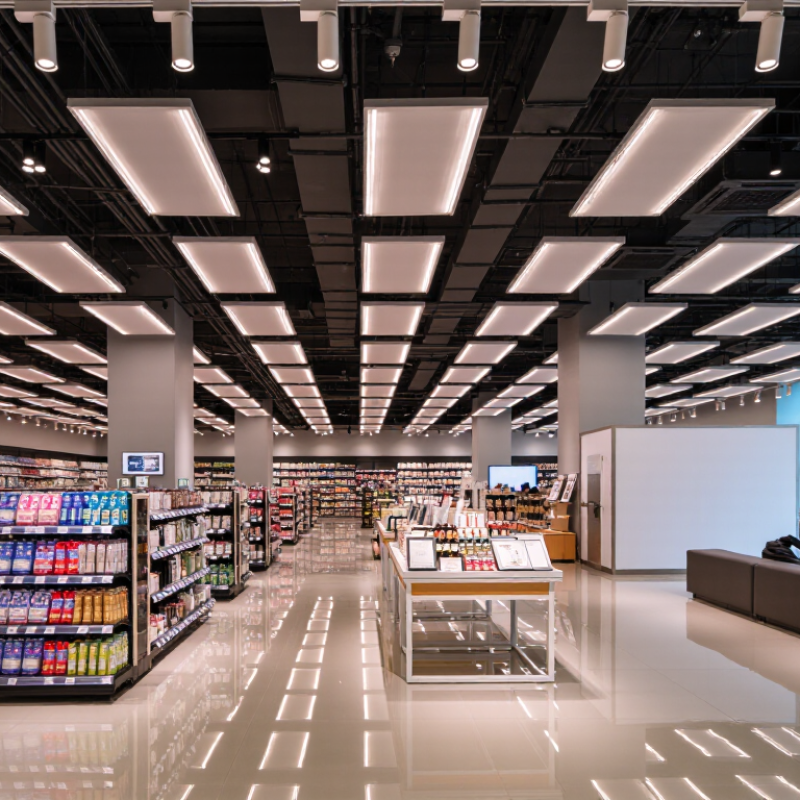
Shop lighting is the planned mix of ambient, task, and display light used to make work and products clearly visible. It must suit the space: a repair bench needs focused light, while aisles need even coverage. Good design also considers glare, shadows, color accuracy, energy use, and the dust or moisture a fitting may face. Details matter.
The U.S. Energy Information Administration’s 2018 Commercial Buildings Energy Consumption Survey reports that lighting used about 17% of electricity in commercial buildings. That makes efficient lamps and occupancy controls worth considering, though savings depend on operating hours and the existing system. For industrial spaces, IES RP-7-21 offers recommended practices for visibility, safety, and visual tasks. It is a design reference, not a substitute for applicable building requirements. I would still question any plan based only on a lumen figure: a bright fitting can leave a dark work surface or create glare on polished tools.
Tips: Test the layout at the actual workbench and aisle height. Check color rendering with real materials, such as paint samples or wiring. Compare uniformity and shadows before committing; a simple mock-up can reveal problems that a drawing misses.
How to Assess Shop Size, Layout, and Work Tasks
Start with a measured floor plan, not a fixture count. Record the shop’s length, width, ceiling height, and major obstructions, including tall shelving, beams, and suspended signs. Measure twice. A narrow aisle with dark shelving can feel dim even when the room’s average light level seems adequate. Mark entrances, windows, counters, and workbenches so daylight and shadows are part of the plan.
Then divide the space by task. A checkout counter needs clear visibility of labels and payment details; a repair bench may need brighter, focused light for small parts. General circulation lighting should limit abrupt bright-to-dark changes, while display areas may benefit from controlled accents. Note where workers stand, reach, or lean over equipment. This sounds obvious, but plans often show furniture and omit the person using it.
Choose a preliminary layout that overlaps light across aisles and work surfaces, rather than leaving isolated bright pools. Consider mounting height, beam spread, glare, and the reflectance of floors and walls. Pale surfaces return more light; dark finishes absorb it. Check the result with a lux meter at the actual task surface, with shelves stocked and doors in normal positions. If shadows still cross a bench, adjust the placement and test again. The first estimate may be wrong; that is useful information, not a failure.
How to Compare Brightness, Color, and Fixture Types
When comparing shop lighting, ignore wattage as a brightness shortcut. Check lumens for total light, then lux at the work surface. A high-lumen fixture mounted too high may still leave a bench dim. For a repair counter, measure the actual surface and inspect shadows beneath shelves. The Illuminating Engineering Society’s lighting guidance emphasizes matching illuminance to the task; fine inspection needs more light than general circulation. One number cannot suit every shop.
Color matters, too. Around 4000K often looks neutral, while 5000K appears cooler and can make small details easier to distinguish. These are starting points, not rules. Check color rendering as well: a CRI of 80 or higher is a sensible baseline for many work areas, though paint matching may need better color fidelity. Fixture type shapes the result. Linear fixtures spread light along aisles; high-bay units suit tall ceilings; task lights add control at individual benches. Glare can still be annoying. I have seen a bright installation feel worse after dark surfaces reflected the wrong kind of light.
For energy and lifespan, the U.S. Department of Energy reports that LEDs use at least 75% less energy and can last up to 25 times longer than incandescent lamps. That comparison does not guarantee savings in every shop; operating hours and fixture quality matter. Check photometric files, warranty terms, and dimming compatibility before choosing. A little overlooked detail: drivers can flicker, even when a fixture looks fine in a quick showroom test.
How to Choose Shop Lighting in 2026
Compare maintained illuminance targets for common shop activities. Higher lux levels support finer, more detailed work.
These are representative workplace lighting targets; requirements vary by task and local standards. For general-purpose shops, 4000–5000 K neutral-to-cool white light is a practical starting point. Choose linear fixtures for broad, even coverage, and add task lighting where detailed work needs higher illuminance. Check fixture lumen output, glare control, and mounting height before comparing products.
How to Plan Light Placement, Controls, and Safety
Good shop lighting starts with the work, not the ceiling plan. Sketch your benches, shelves, and machine positions before choosing fixture locations. A light directly above a workbench can still leave your hands casting shadows. Place fixtures slightly forward of the main task area, and add adjustable task lights for close inspection. Check the layout at standing and seated height. It is easy to miss a dark corner on paper.
Use separate control zones for general lighting, workbenches, and storage areas. Dimming helps when moving between detailed work and cleanup, while switches near entrances make everyday use simpler. Occupancy controls can save energy in infrequently used spaces, but test their response before relying on them. You do not want the lights switching off while your hands are occupied. Small annoyance, real one.
Safety belongs in the placement plan. Keep fixtures and cords clear of moving equipment, hot surfaces, and walkways. In dusty or damp areas, choose lighting rated for those conditions, and use guards where impact is likely. Make sure light levels let you read labels and see tool edges without harsh glare. No arrangement stays perfect; shelves move, and new equipment changes shadows. Recheck the shop after changes, and have a qualified electrician handle wiring or circuit work.